Domino Box (2026)
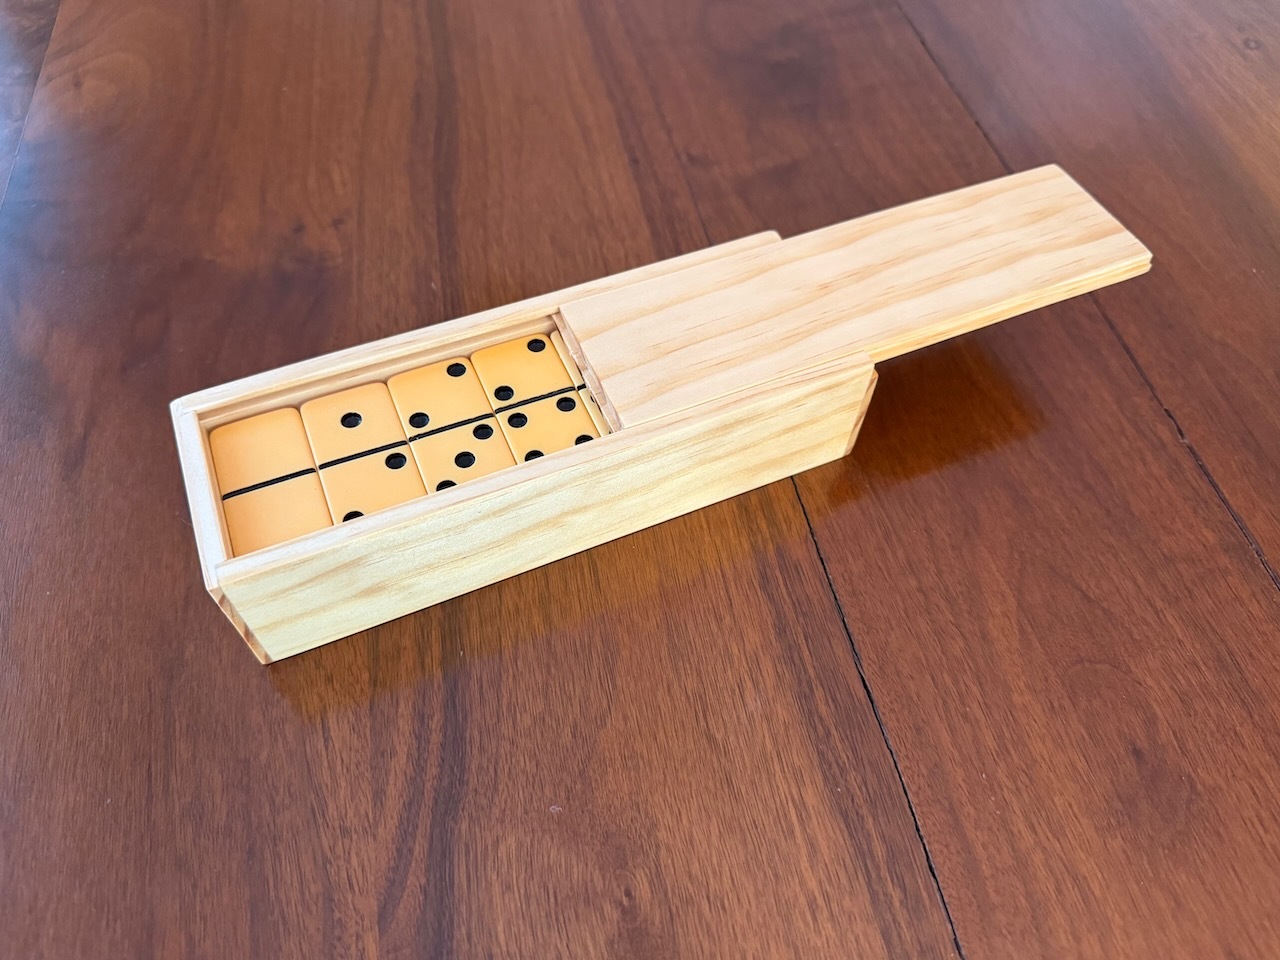
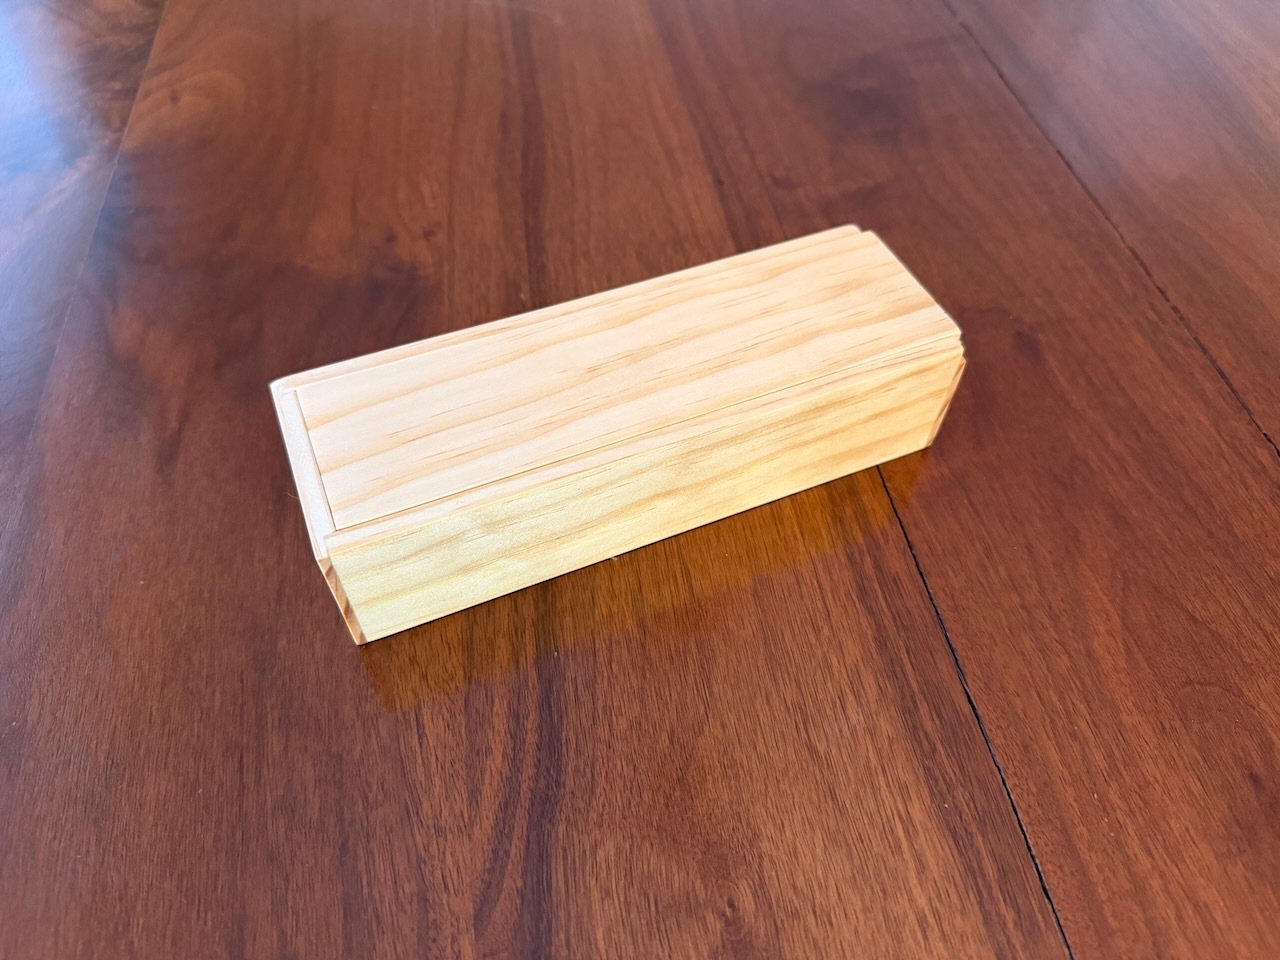
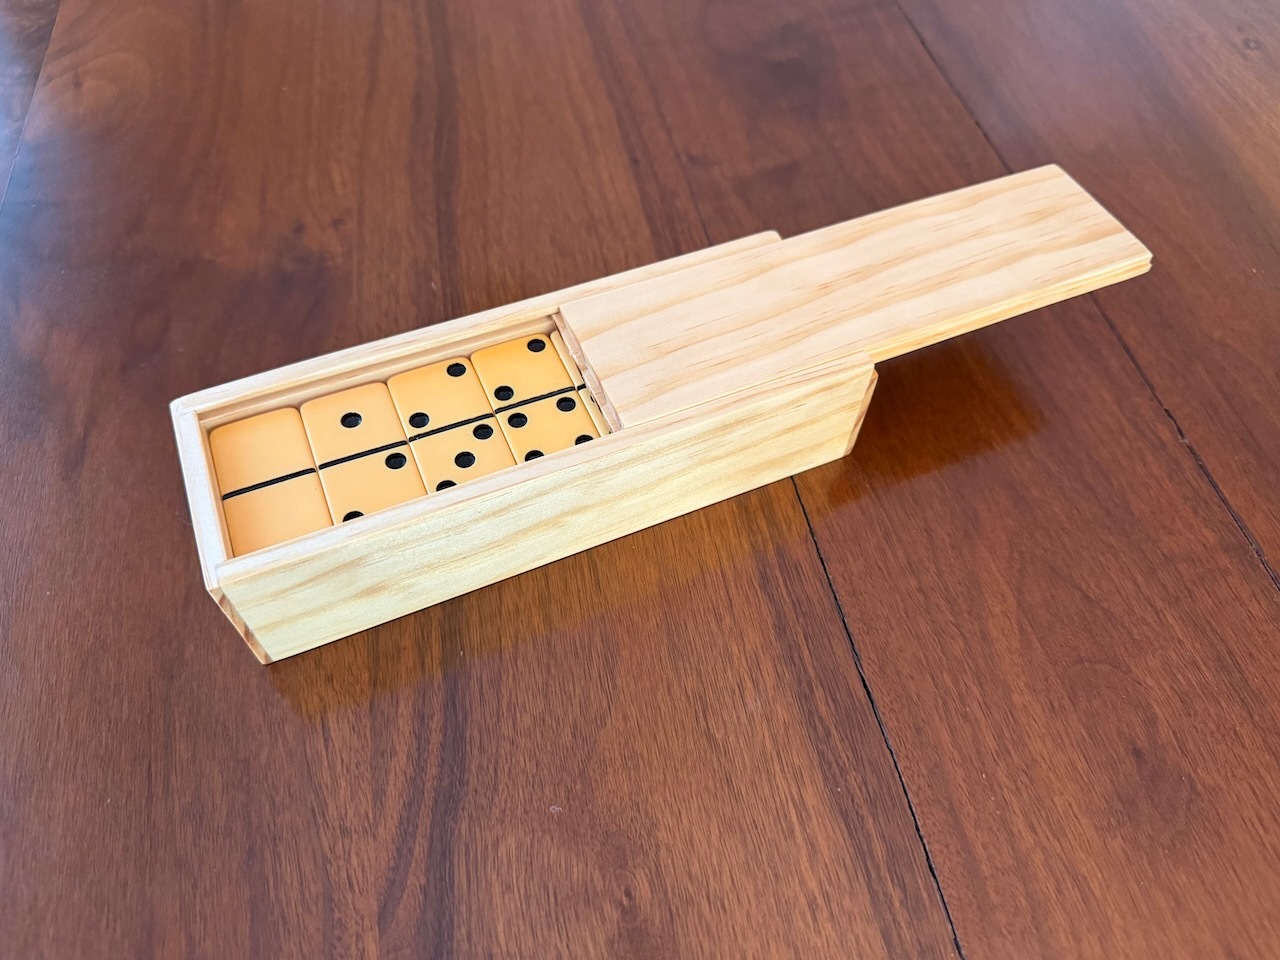
I made a wooden box with a sliding lid, sized to hold a set of 28 dominos. It's made out of poplar and finished with a penetrating oil.
The joinery uses rabbets for the sides and rabbets captured in grooves for the top and bottom.
New Tools
I've been getting back to using hand tools and manual power tools instead of the CNC and decided to use this project as an excuse to upgrade my shop with a new table saw and a thickness planer.
Table Saw
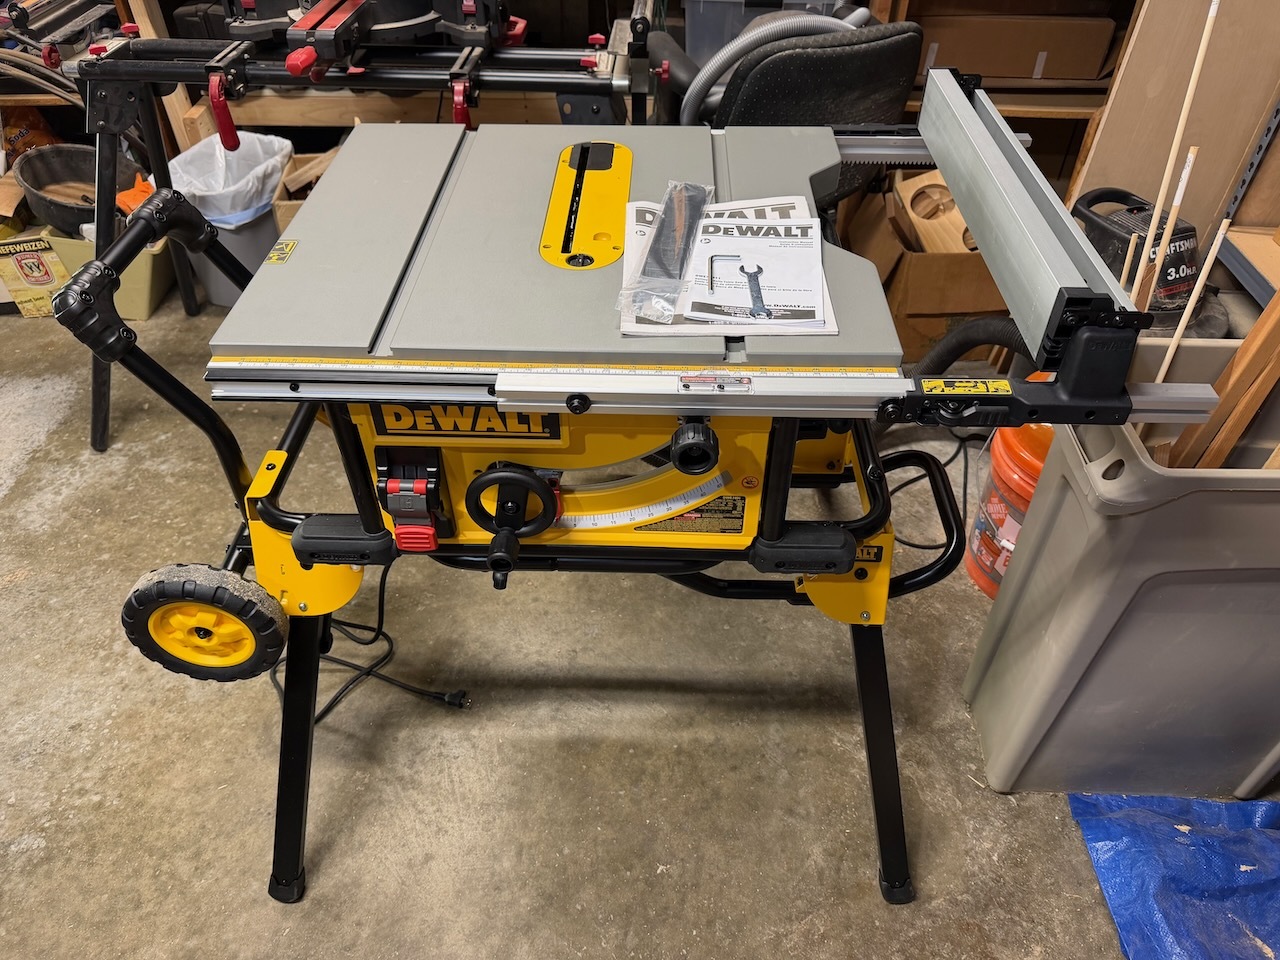
My old table saw of 18 years, a 2008 Craftsman jobsite saw, was fine except that it has an integrated sliding bed and mitre fence and no slots to accomodate a crosscut sled. I have found it difficult to make small precise cuts safely without a crosscut sled or other custom jigs.
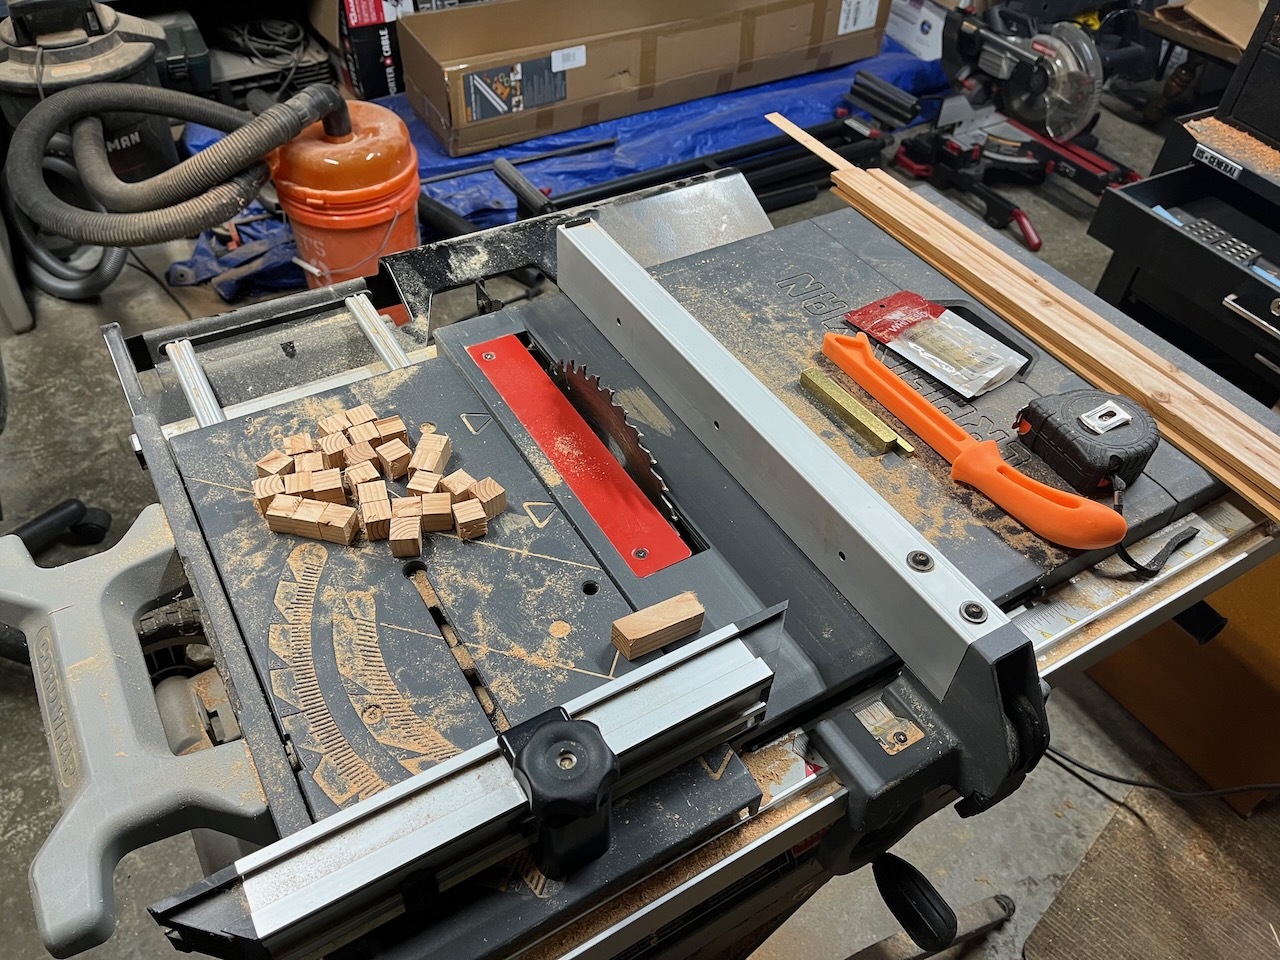
So, I replaced it with a new Dewalt jobsite saw (my shop is small so I like portable tools that I can move around).
Thickness Planer
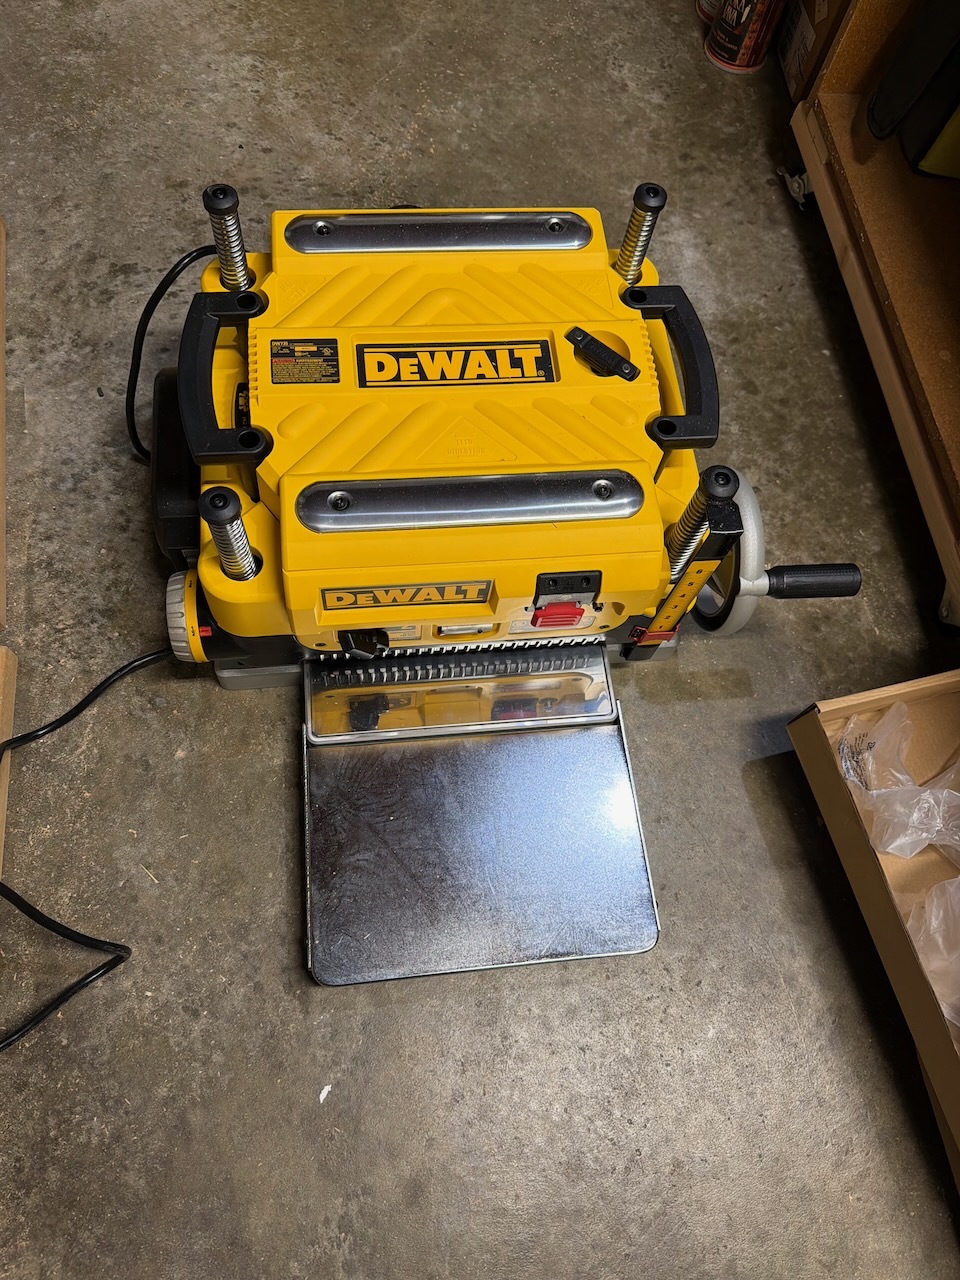
Not being able to mill my own stock has been limiting, so I got a thickness planer. Without a jointer I can't easily mill rough lumber, but I can resaw and fine-tune standard dimensional lumber where previously I had to buy specialty lumber milled to the dimensions my project required.
Automatic Dust Collection
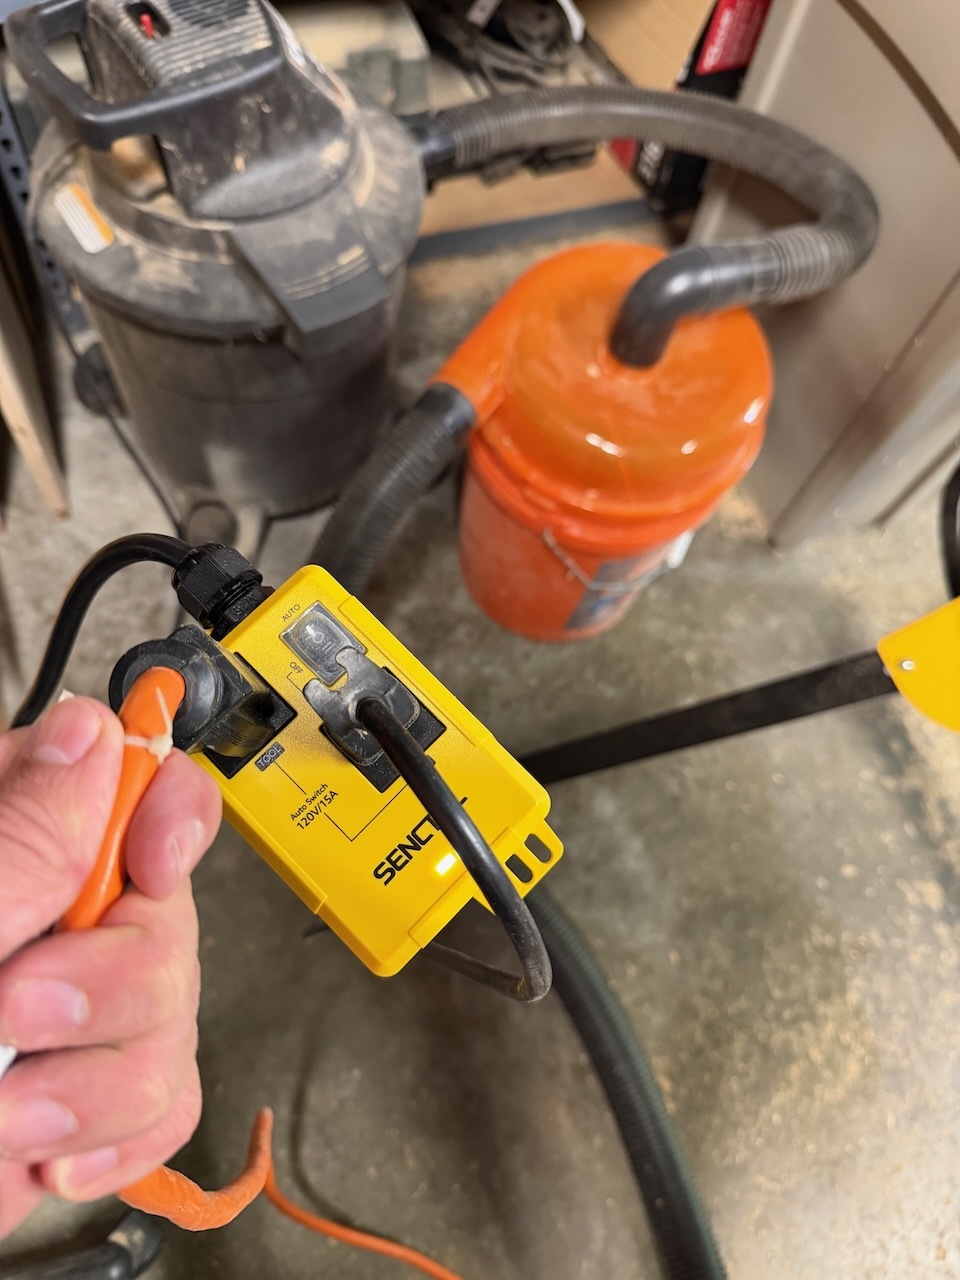
I also got an automatic load-sensing switch to turn my shop-vac cyclone dust collection system on/off when I start/stop the saw or planer. Having to manually turn my dust collection system on meant that I ended up not using it consistently, leading to a lot of unnecessary cleanup.
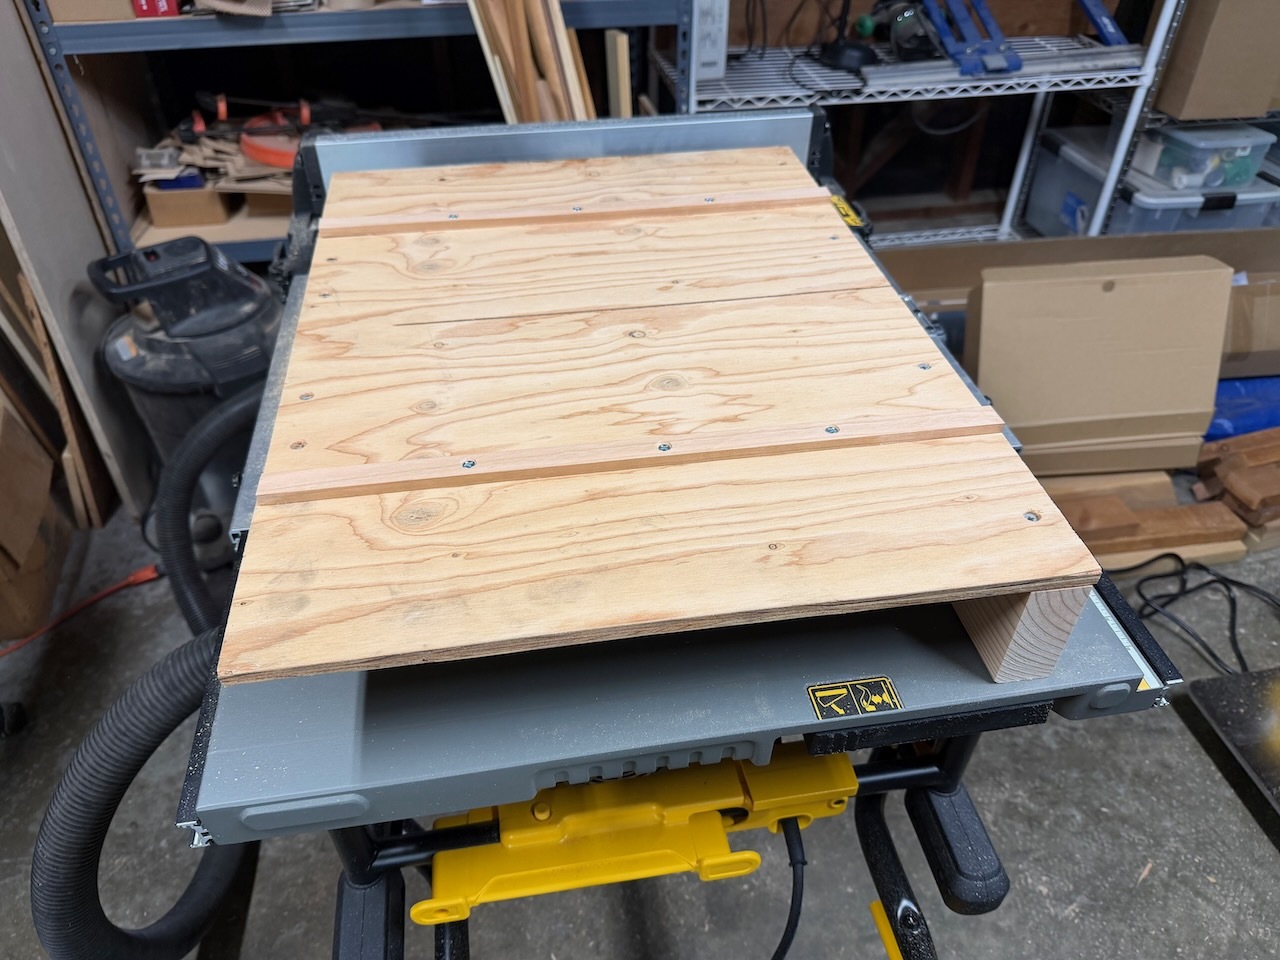
Crosscut Sled
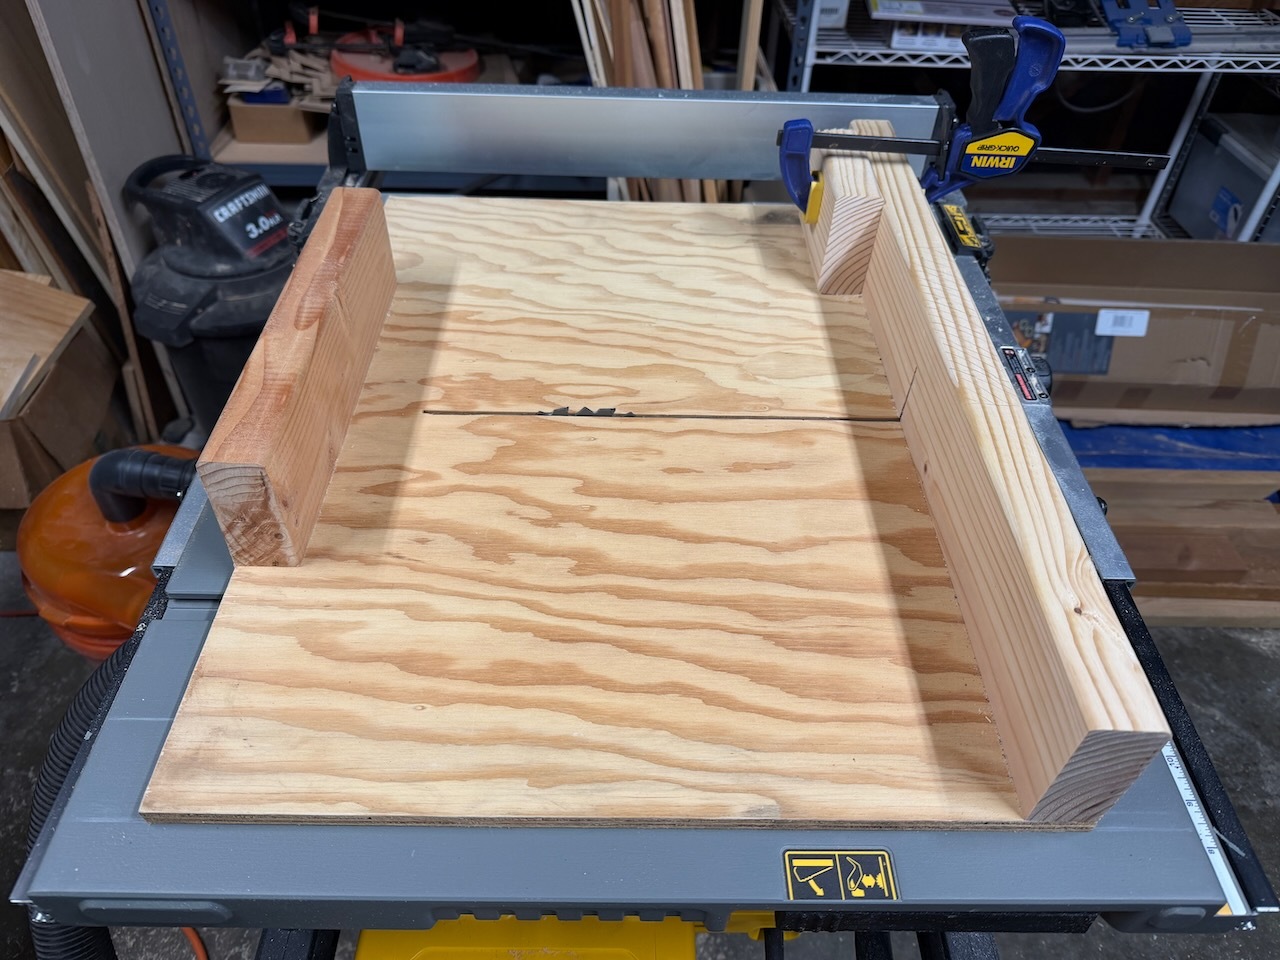
After setting up the new tools I built a very basic crosscut sled out of scrap material. I planed the face of the fence and then cut the bottom square to that face on the table saw. I trimmed the rails to width on the table saw and then adjusted their thickness with the planer. I will no doubt build a fancier sled once I have some experience with this one.
Flat Tooth Saw Blade
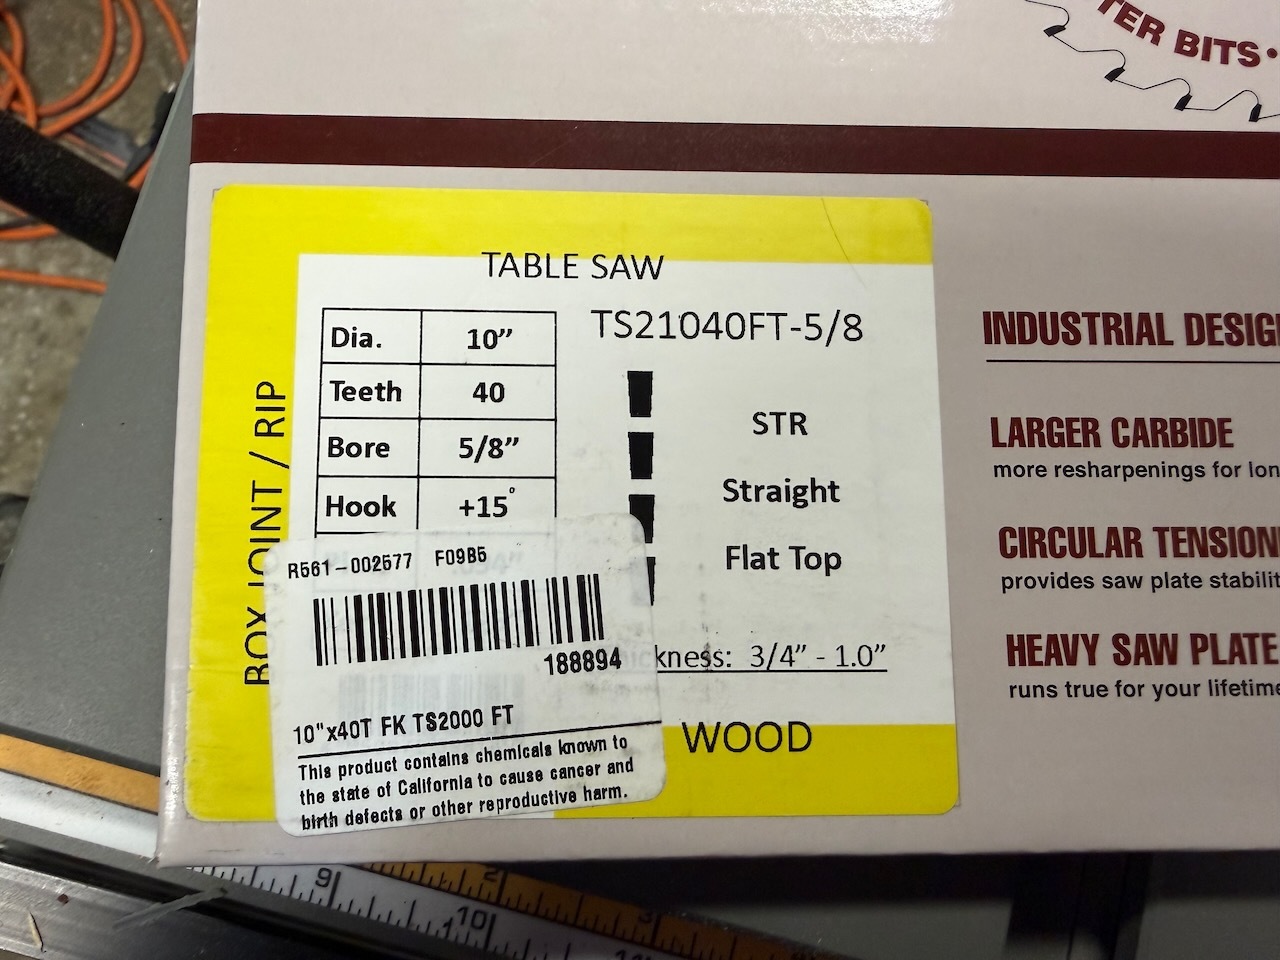
Finally, I got a nice flat tooth table saw blade for cutting rabbets and box joints
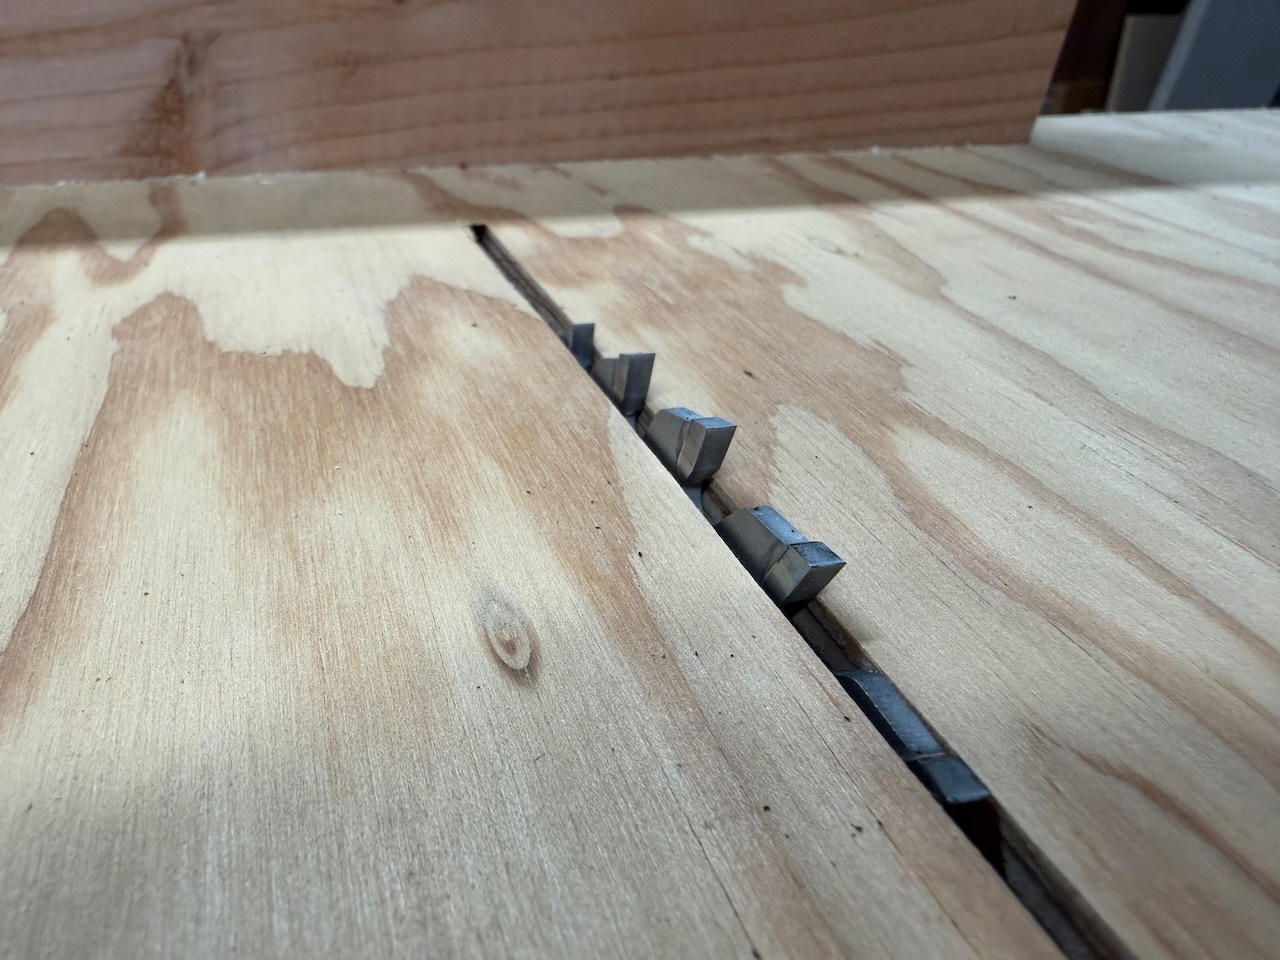
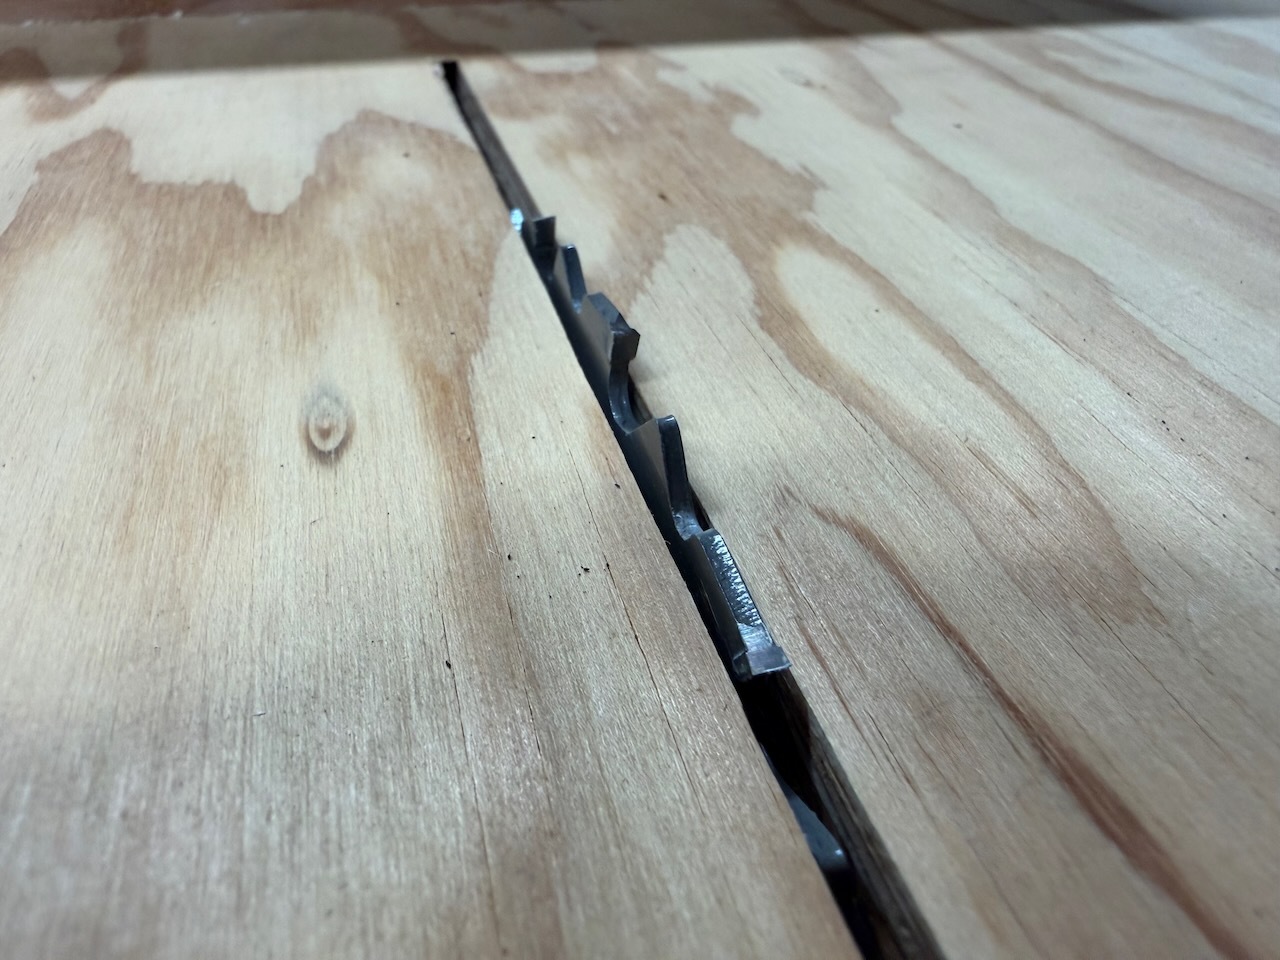
For comparison, here's the general-purpose blade that came with the saw. If you look closely you can see the alternating bevels on the teeth, designed to reduce the load on the saw as it cuts through the wood fibers (at the expense of not leaving a square surface on a non-through cut).
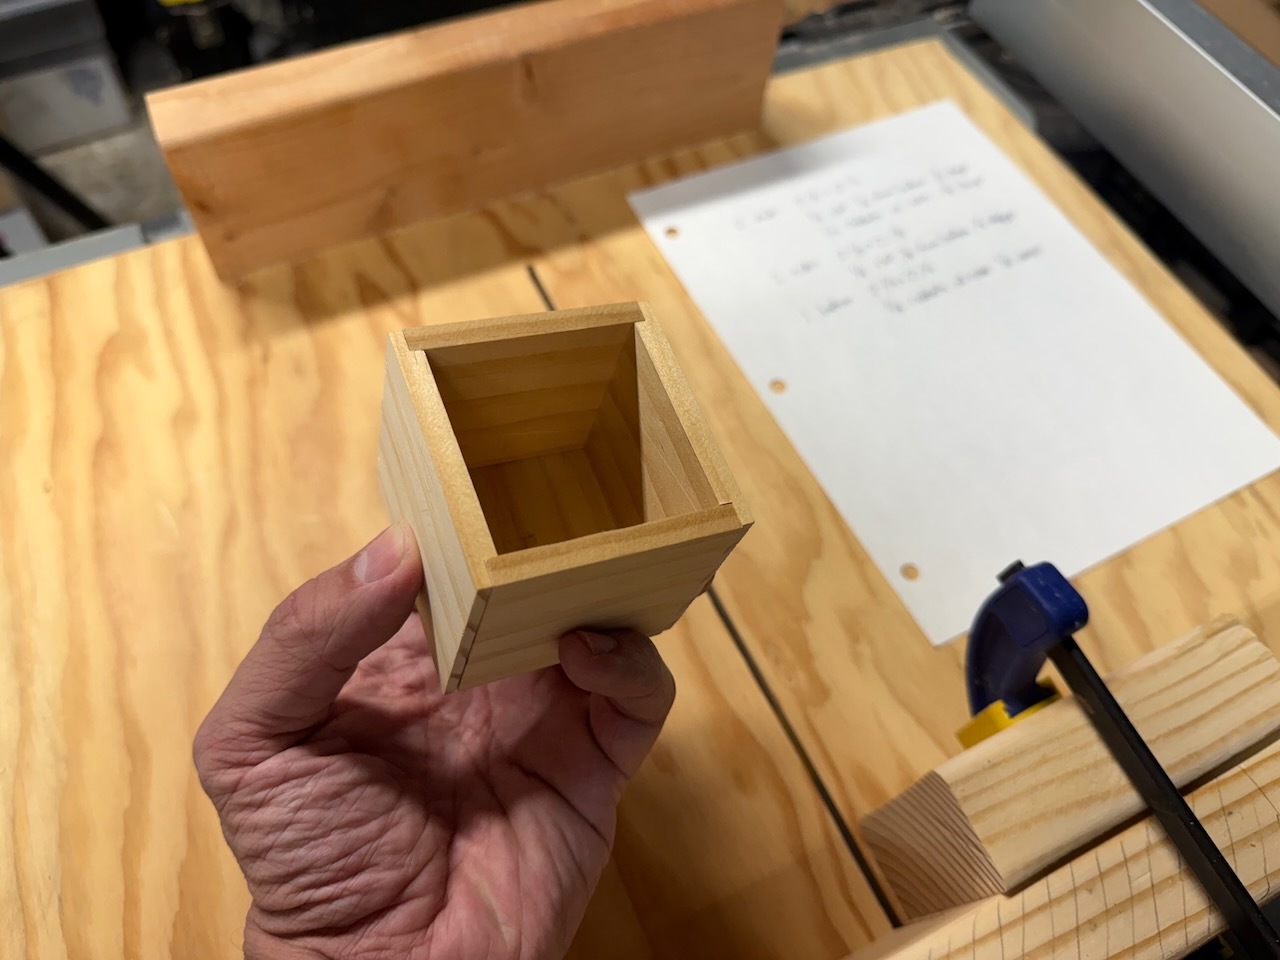
Test box
I was now ready to start building boxes! I started with a small test box to test my process, made from the same 1x3 dimensional poplar I planned to use for the domino box.
Milling
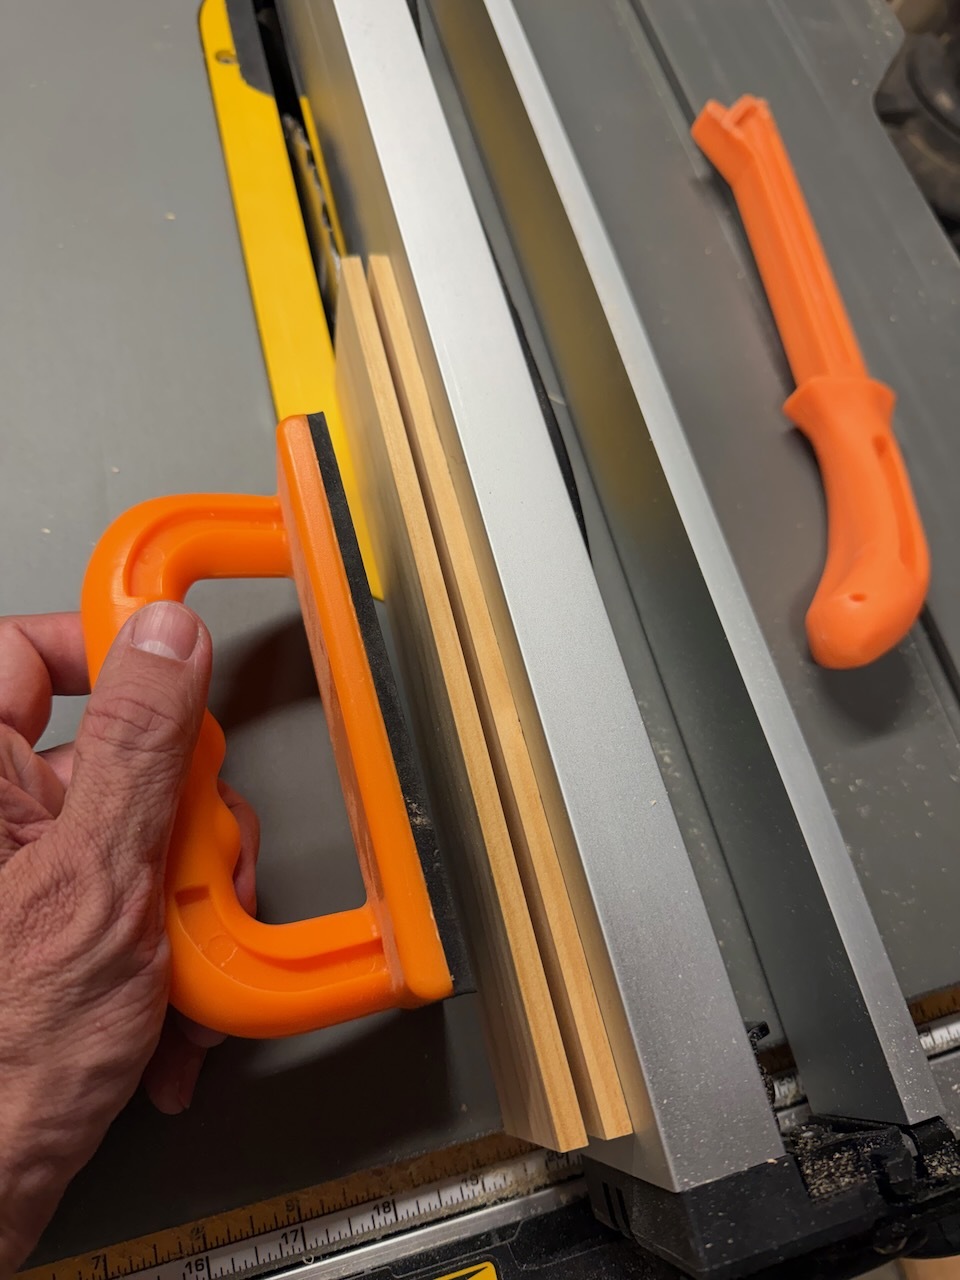
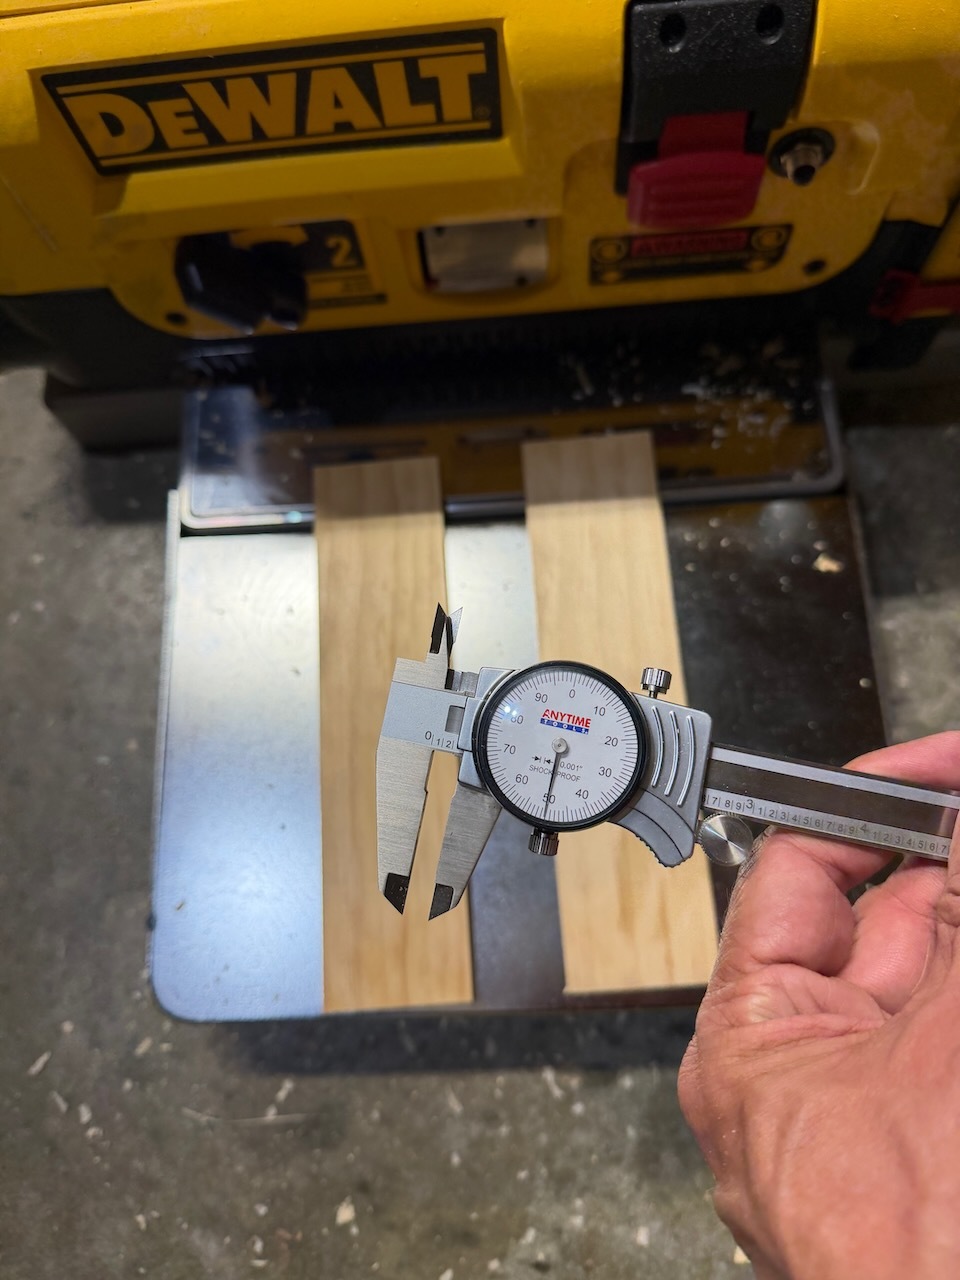
I first resawed and planed the 3/4 inch thick stock down to 1/4 inch:
Cutting
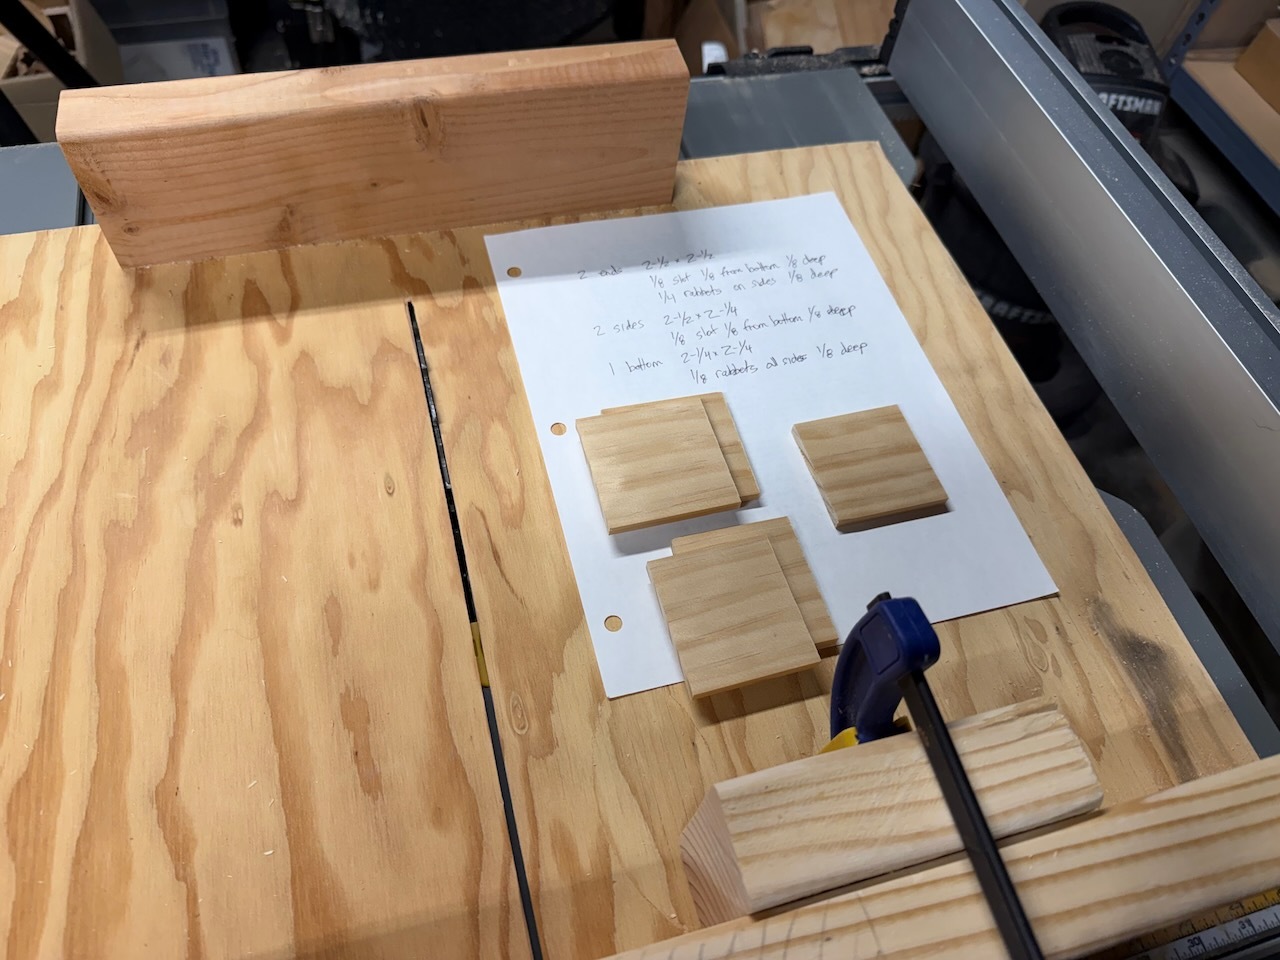
I then cut the sides and bottom to size, added the rabbets and slots, and tested the fit:
Domino Box
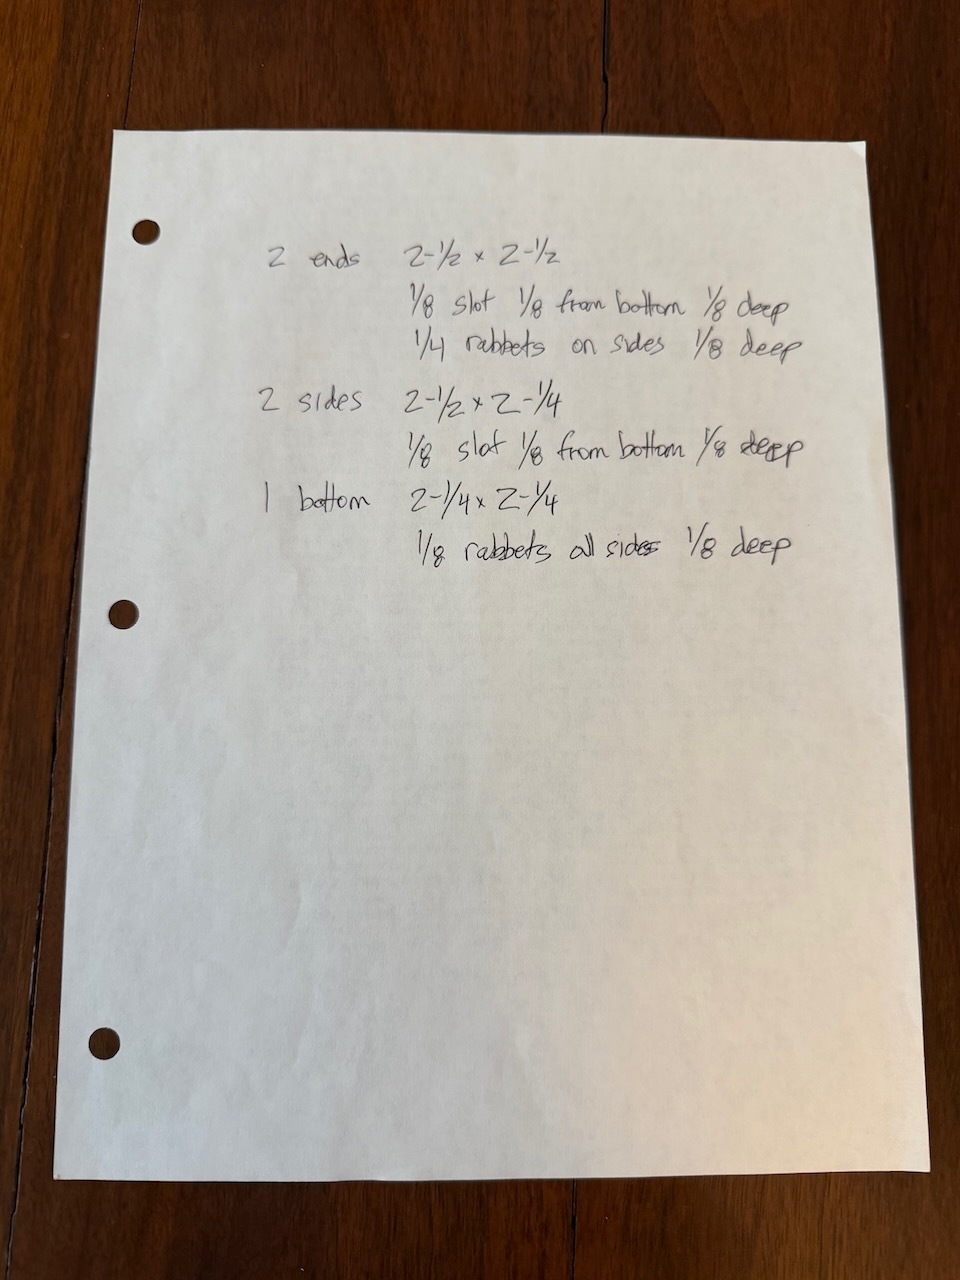
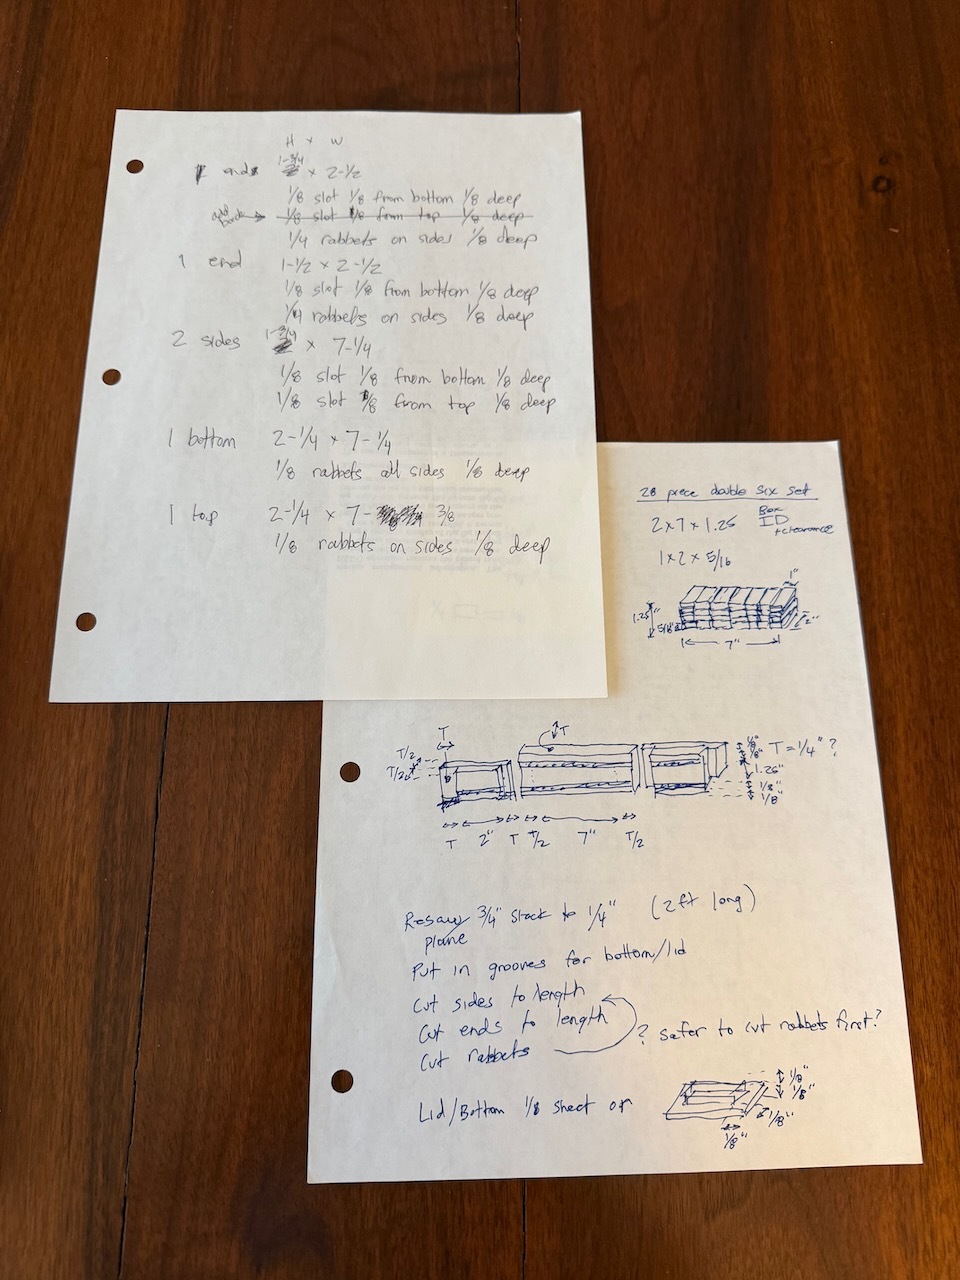
Happy with the test box, I measured the dominos and made a sketch and a cut list for the domino box:
Milling
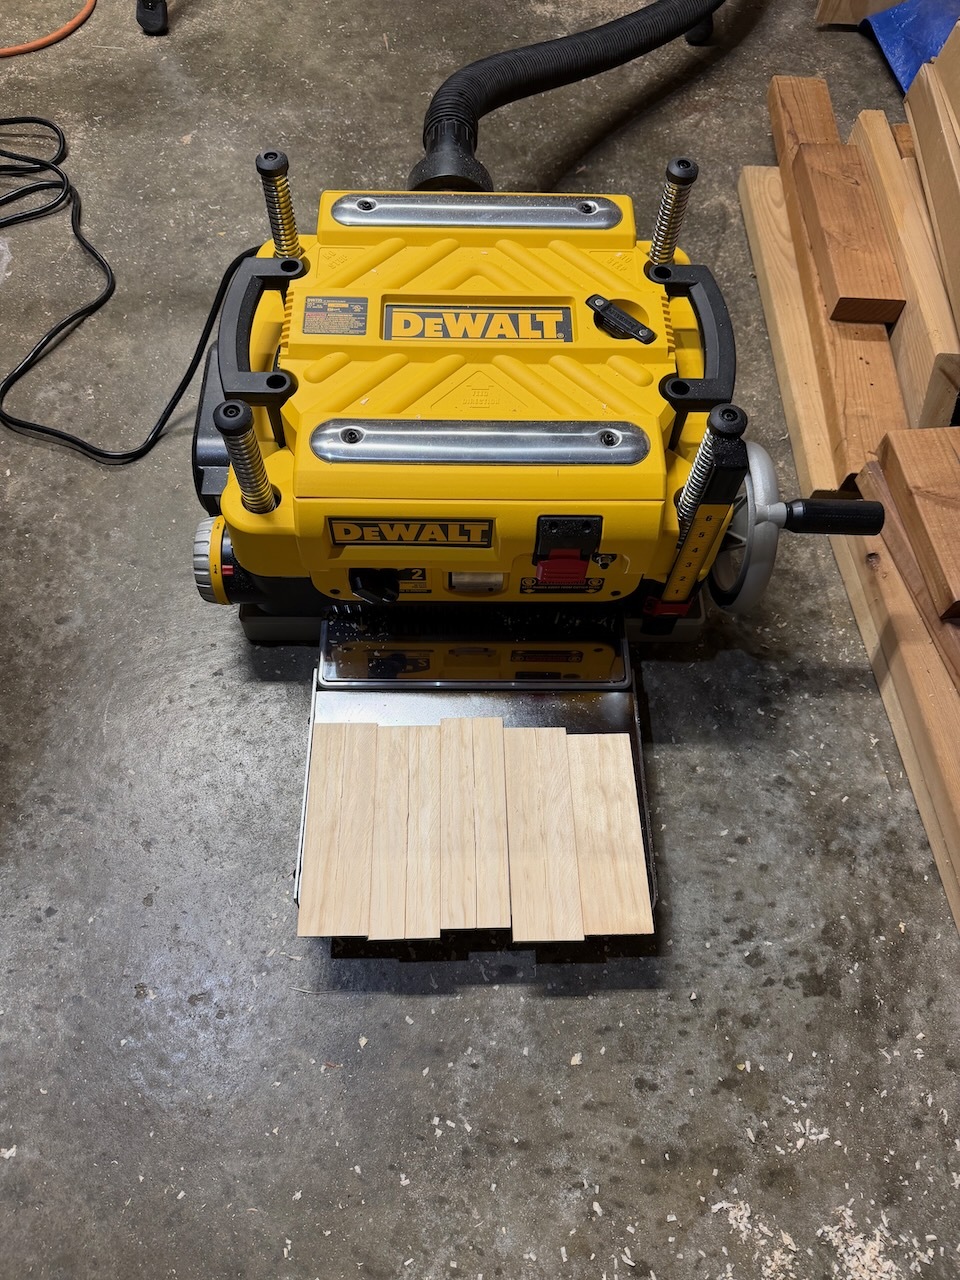
As with the test box, I resawed and planed the 3/4 inch thick stock down to 1/4 inch:
Cutting
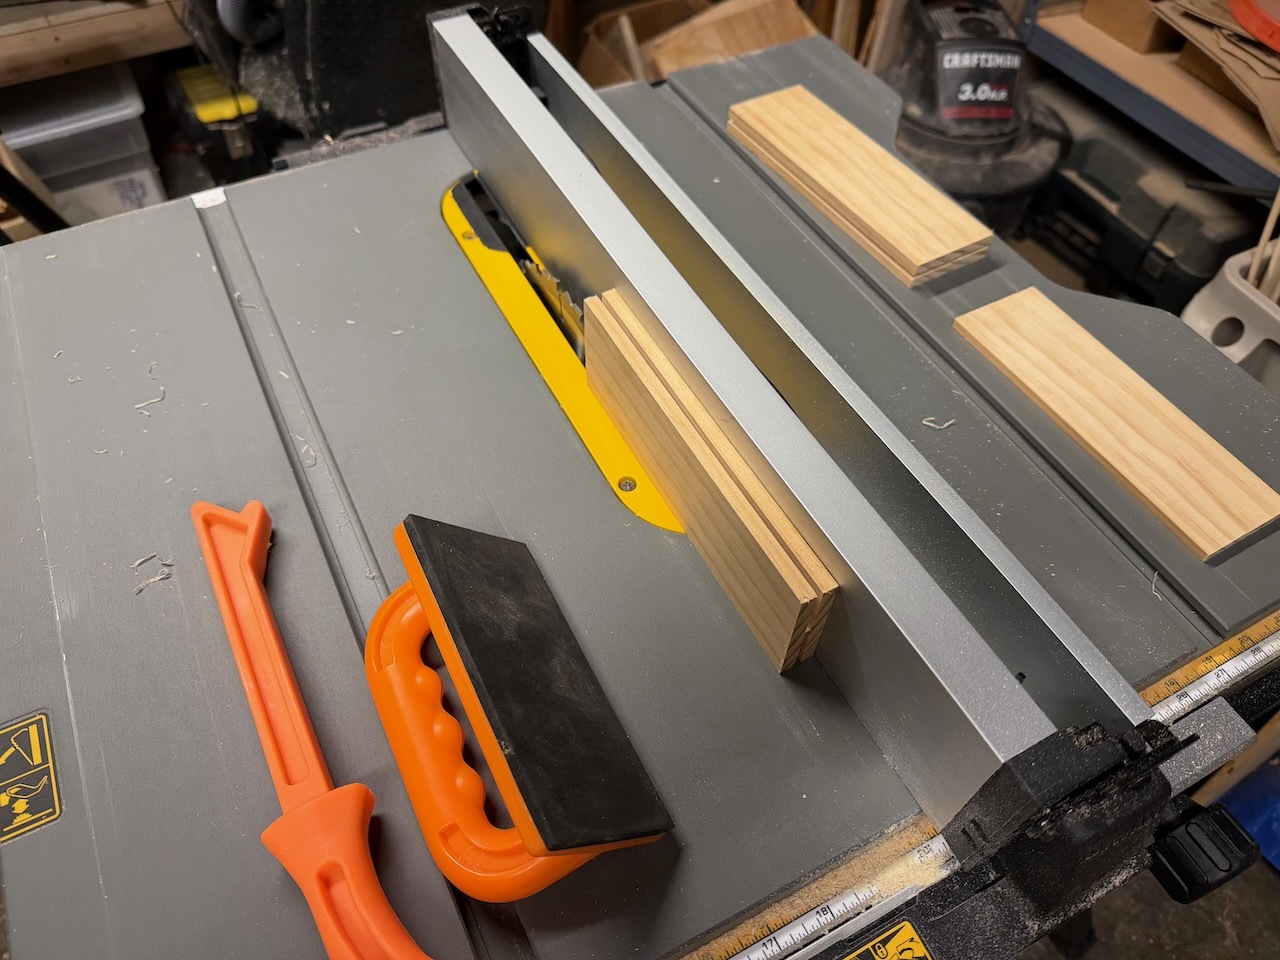
I then cut the sides, top, and bottom to size, added the rabbets and slots, and tested the fit (I somehow managed to not take any pictures of the individual cut pieces):
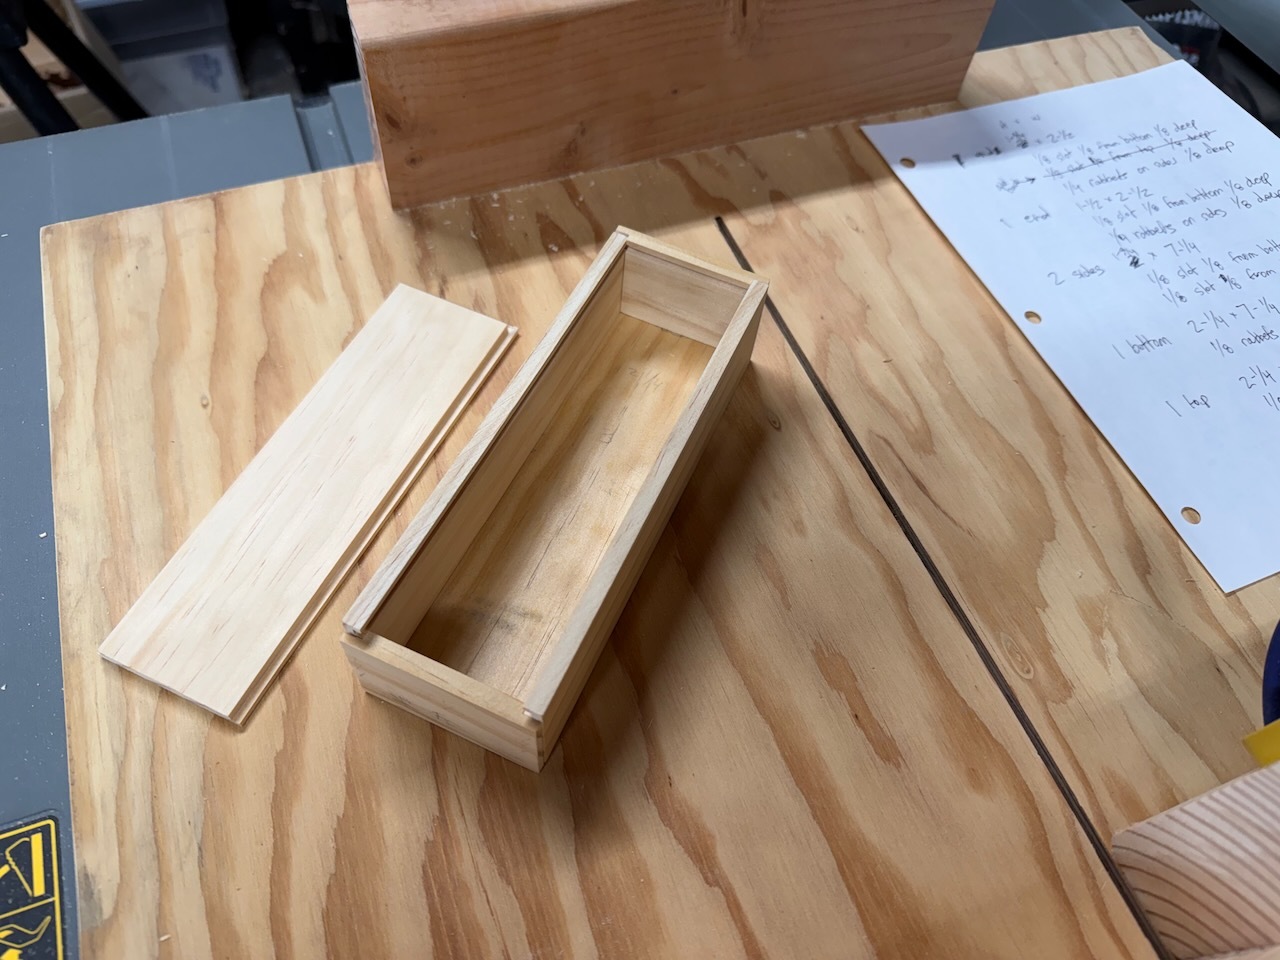
Assembly
After some sanding and fine-tuning of the fit I glued the sides together with wood glue, holding them square with some 1-2-3 blocks and rubber bands while they dried (I left the bottom floating):
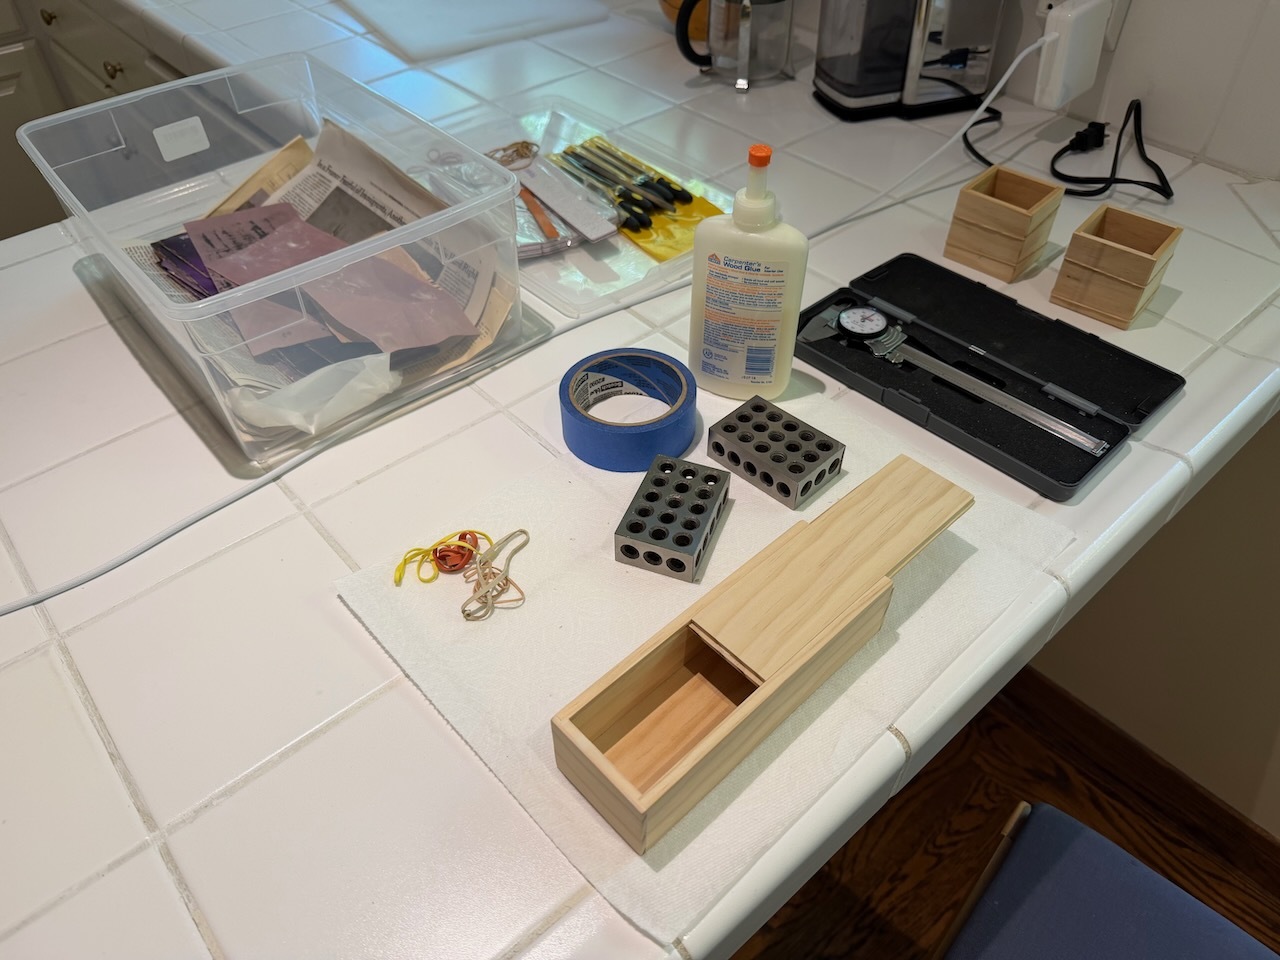
Finishing
I finished the poplar with Totalboat Wood Honey, a pentrating oil that I've had good luck with:
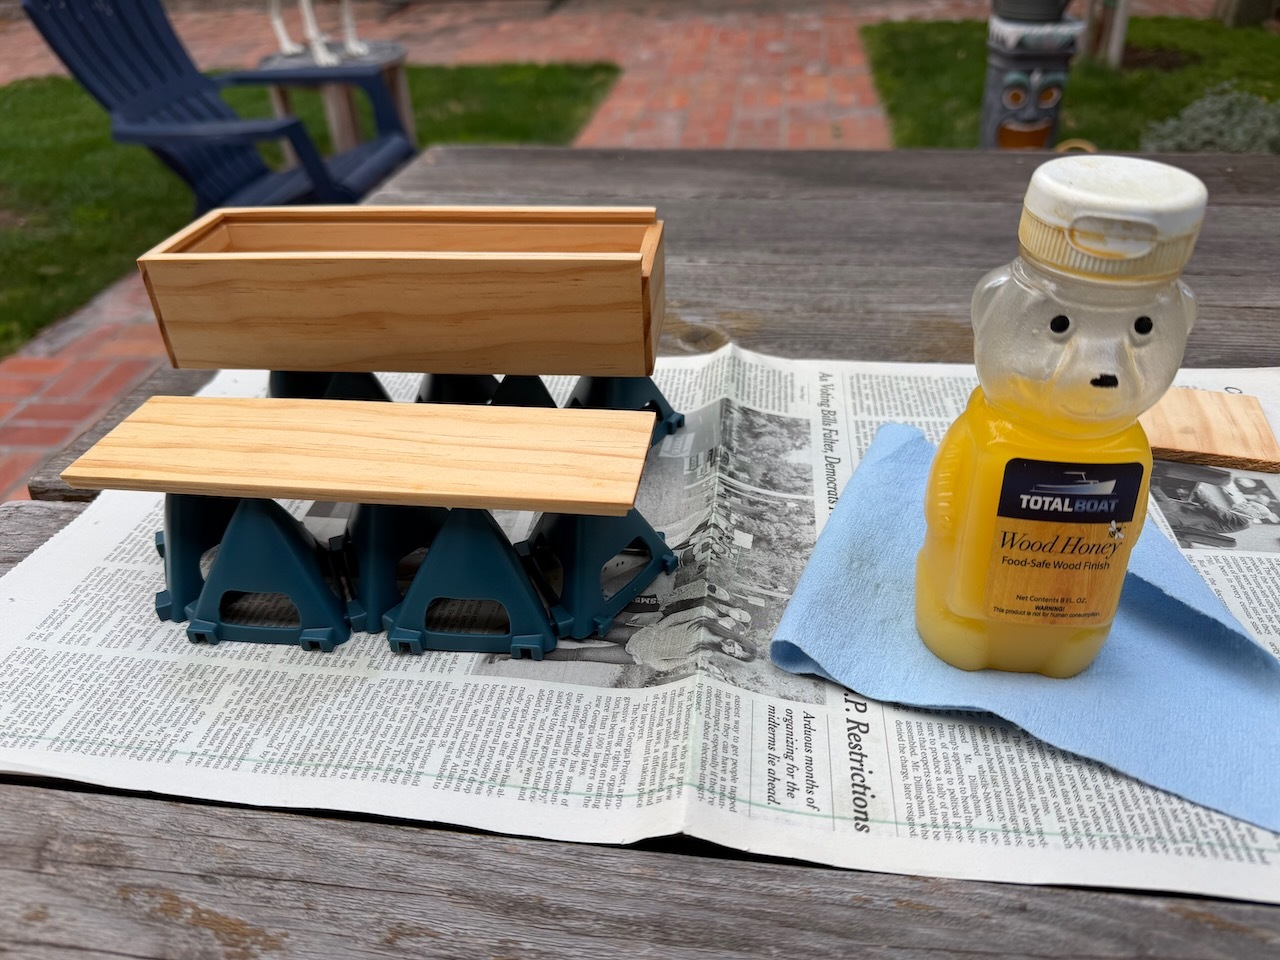
All done, the dominos fit perfectly: